Still, there are times when spinning techniques are important to understand. I've always believed that it's OK to break certain creative rules, but you need to know the rules before you should break them. So that's where this blog comes in: I'd like to talk about a few of the more interesting spinning techniques, and why I think they are awesome! For this post, I'm going to focus on cable spinning, AKA "Cabled Yarn".
A
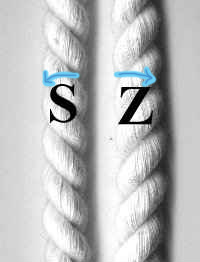
quick review: The simple S vs Z twist. These terms are common amongst
spinners and represent the direction of the twist that you're putting
into your yarn. Spinning to the left is known as the "S Twist" and
spinning to the right (clockwise) is known as the "Z Twist". The easiest
way to tell which is which is to just look at the letters and the
direction they are going. The curve of the S points to the left, and the
top of the Z is pointing to the right. I prefer to spin my yarn
clockwise (Z twist). When I want to ply 2 z-twist yarns together, I do
so by spinning to the left in an S twist. Whenever you're plying yarns,
the general rule is that you ply in the opposite direction that you spun
the yarn in.
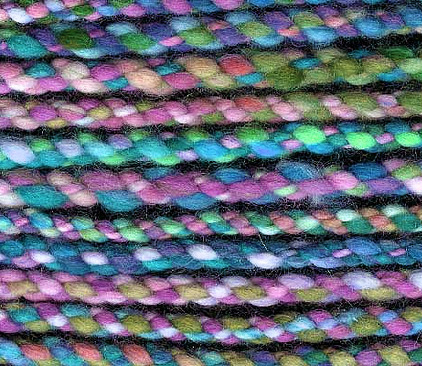
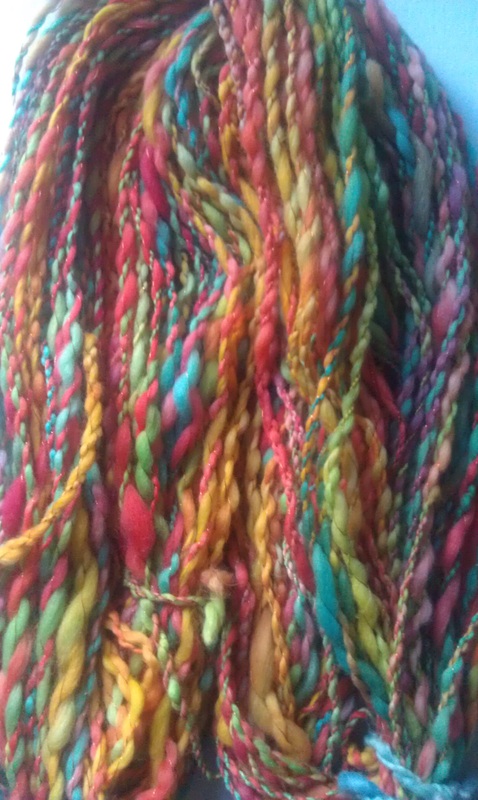
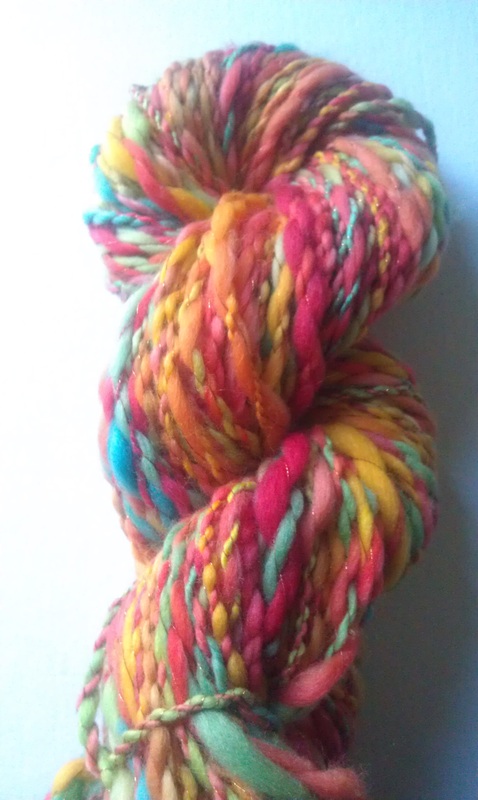
Cabled yarn is absolutely gorgeous, and it's very similar in appearance
to a traditional round braid used in bracelet making and macrame.
Although it looks intimidating, it's actually a fairly simple technique
with endless possibilities.
Happy Spinning!
Holly
Quick Overview/summary: Cabled yarn is created when you ply two 2-ply yarns together. Additionally, cables can be doubled as many times as you want to create some incredible looking yarns!
How to:
- Begin with 2 single spun yarns of the same thickness.
- Ply the two singles together in the opposite direction (so if you spun your singles to the right {z-twist}, ply them together to the left {s-twist}).
- You now have a 2-ply yarn.
- Repeat steps 1 and 2 so that you have two 2-ply yarns to work with.
- Important: In order to cable the yarns so it has the desired look, you need to have twice as much twist in your plied yarn as you'd normally want. In other words, you want it to be over-plied. The easiest way to do it (thank you to Judith MacKenzie for this) so that you have even results is to run your 2-plied yarn back through once more, continuing to ply in the same direction as before. This may seem like it's not an important step, but it is!
- After your two 2-ply yarns have been over-plied, it's time to make your gorgeous cabled yarn. For this step, I set my brake band tension so it feeds into the orifice as quickly as possible. It's recommended that you use the biggest whorl that you have for the same reason.
- Take the two 2-plied yarns and ply them together with each other, spinning to the right (or in the original direction you spun your singles. There should be next to no effort needed for this - because of the over-plying from step #5, the two yarns will snap together easily. The result should be a balanced, beautiful yarn.
Happy Spinning!
Holly
No comments:
Post a Comment