Showing posts with label spin. Show all posts

Saturday, June 8, 2013

Spinning Technique: Cabled Yarn

For me, spinning is a meditative process. The creek of the wheel turning, the feel of fiber slipping through my fingers; the rest of the world has a way of disappearing and I'm left with this amazing feeling of creating something special and unique. Spinning fiber into yarn can be a very organic process, and I often have the most fun when I just go for it and let the yarn happen without over-thinking it. One of my favorite ways to spin yarn is to have several types of fiber in a large variety of colors in baskets beside me, and I can then grab handfuls of fiber randomly. It's no secret that I love chunky, funky yarn because it's something that you really can't buy commercially.

Still, there are times when spinning techniques are important to understand. I've always believed that it's OK to break certain creative rules, but you need to know the rules before you should break them. So that's where this blog comes in: I'd like to talk about a few of the more interesting spinning techniques, and why I think they are awesome! For this post, I'm going to focus on cable spinning, AKA "Cabled Yarn".
Picture
A quick review: The simple S vs Z twist. These terms are common amongst spinners and represent the direction of the twist that you're putting into your yarn. Spinning to the left is known as the "S Twist" and spinning to the right (clockwise) is known as the "Z Twist". The easiest way to tell which is which is to just look at the letters and the direction they are going. The curve of the S points to the left, and the top of the Z is pointing to the right. I prefer to spin my yarn clockwise (Z twist). When I want to ply 2 z-twist yarns together, I do so by spinning to the left in an S twist. Whenever you're plying yarns, the general rule is that you ply in the opposite direction that you spun the yarn in. 
Picture 
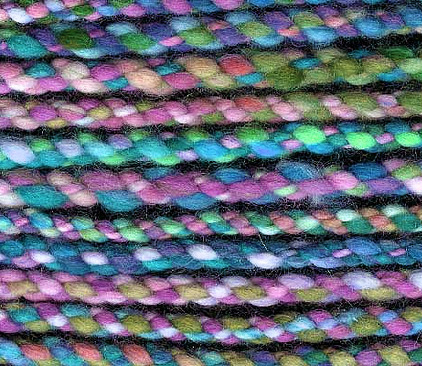
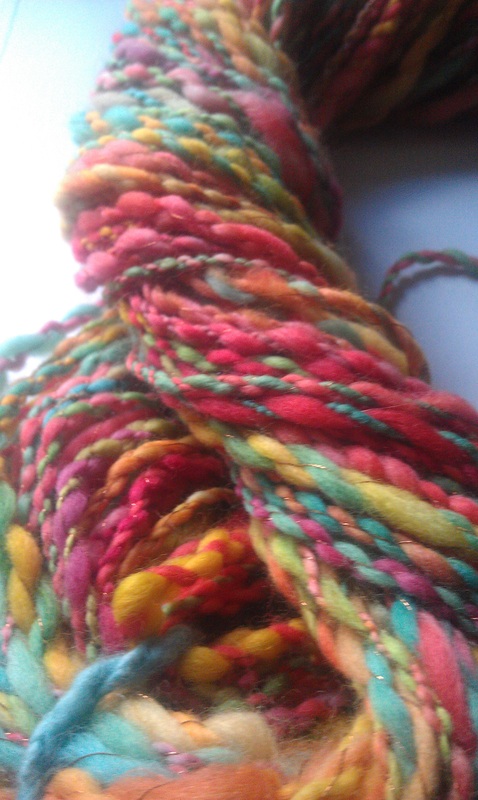
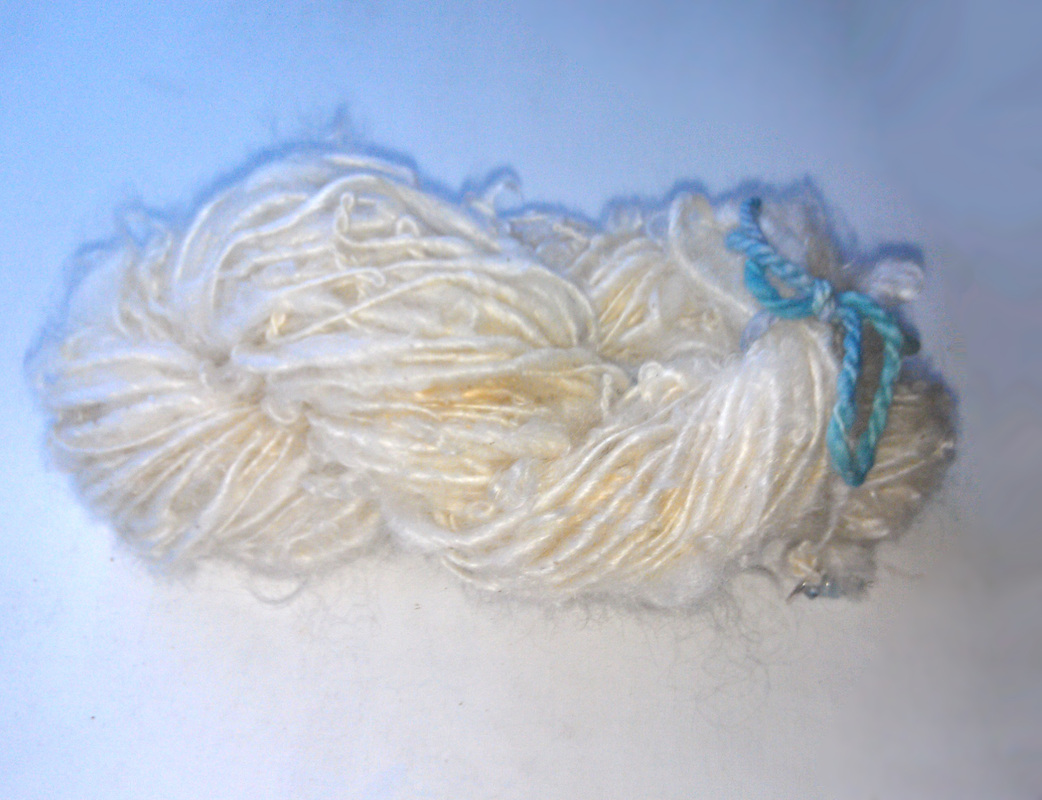
Cabled yarn is absolutely gorgeous, and it's very similar in appearance to a traditional round braid used in bracelet making and macrame. Although it looks intimidating, it's actually a fairly simple technique with endless possibilities.

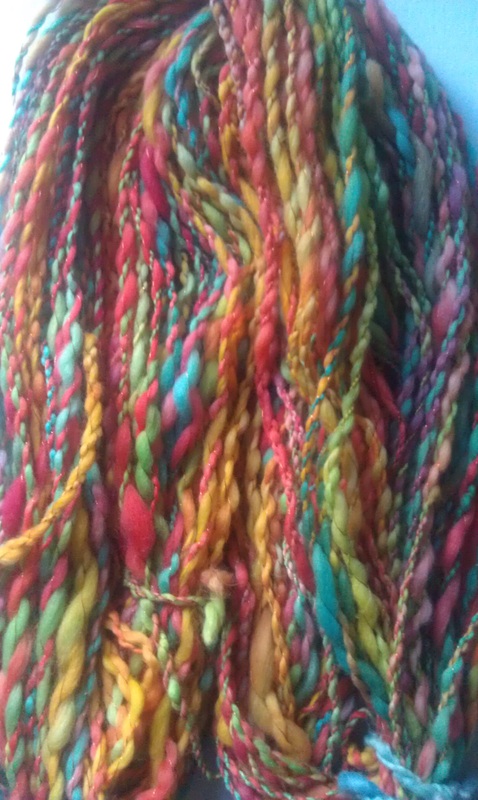
Quick Overview/summary: Cabled yarn is created when you ply two 2-ply yarns together. Additionally, cables can be doubled as many times as you want to create some incredible looking yarns! 

How to:

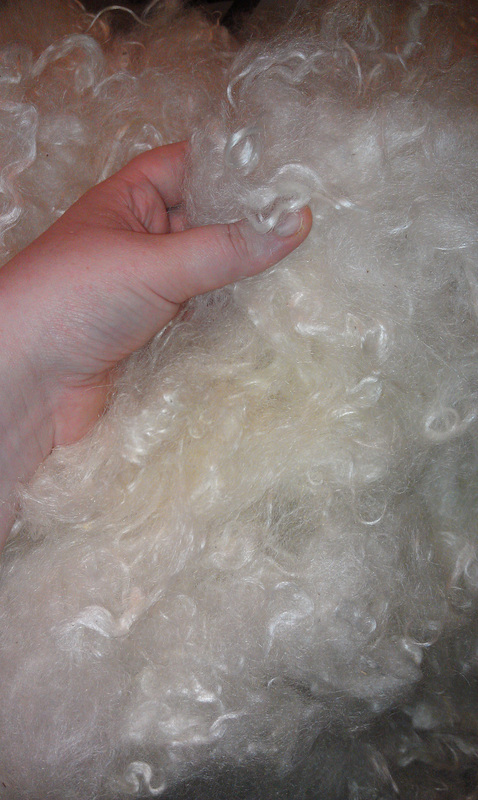
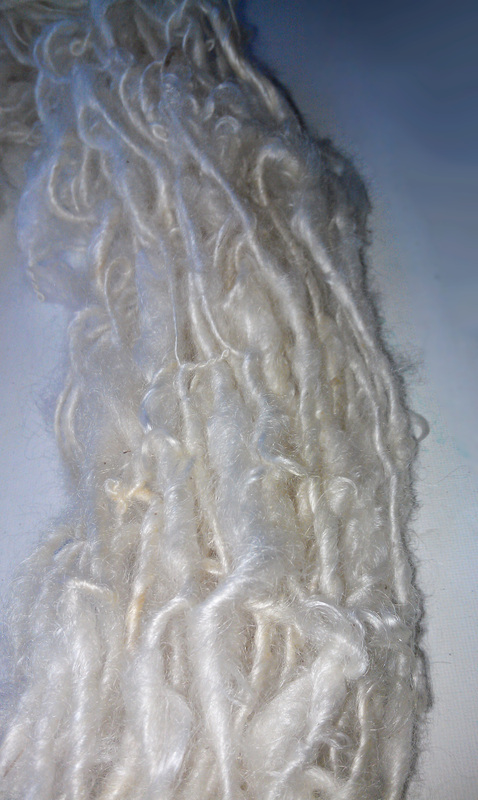
  1. Begin with 2 single spun yarns of the same thickness. 
  2. Ply the two singles together in the opposite direction (so if you spun your singles to the right {z-twist}, ply them together to the left {s-twist}).
  3. You now have a 2-ply yarn.
  4. Repeat steps 1 and 2 so that you have two 2-ply yarns to work with.
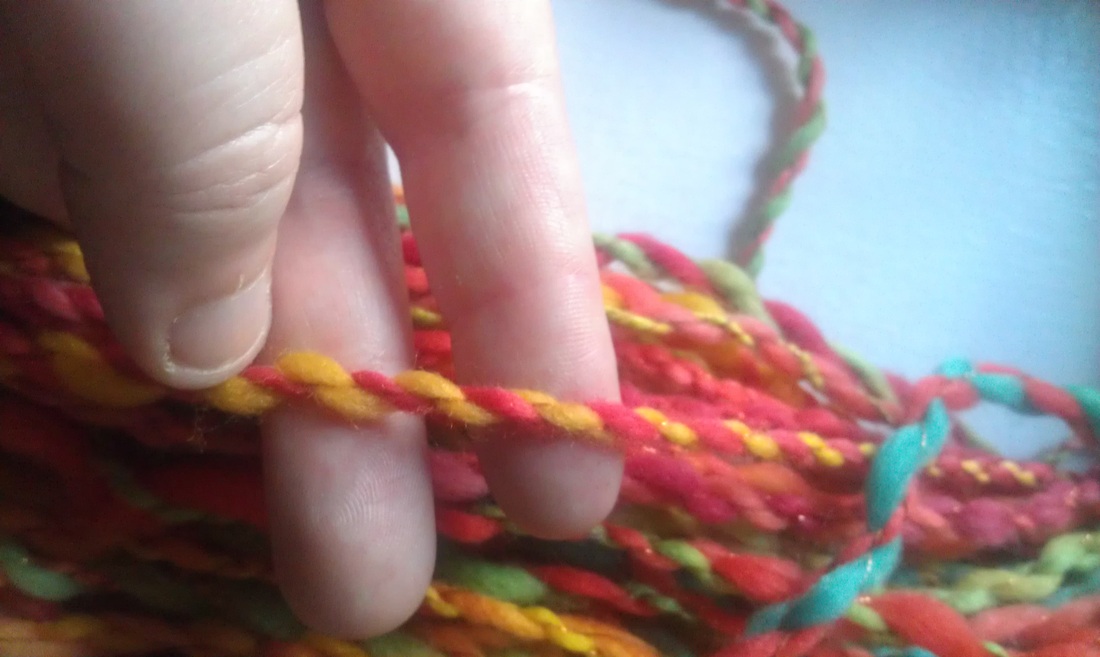
  5. Important: In order to cable the yarns so it has the desired look, you need to have twice as much twist in your plied yarn as you'd normally want. In other words, you want it to be over-plied. The easiest way to do it (thank you to Judith MacKenzie for this) so that you have even results is to run your 2-plied yarn back through once more, continuing to ply in the same direction as before. This may seem like it's not an important step, but it is!
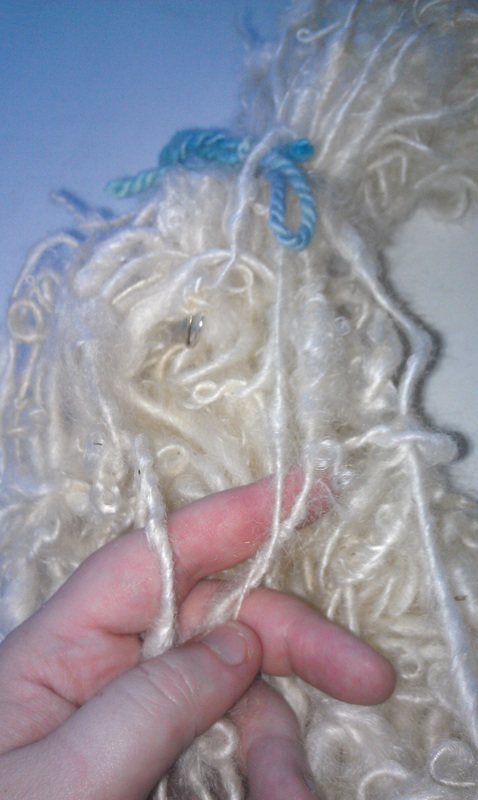
  6. After your two 2-ply yarns have been over-plied, it's time to make your gorgeous cabled yarn. For this step, I set my brake band tension so it feeds into the orifice as quickly as possible. It's recommended that you use the biggest whorl that you have for the same reason.
  7. Take the two 2-plied yarns and ply them together with each other, spinning to the right (or in the original direction you spun your singles. There should be next to no effort needed for this - because of the over-plying from step #5, the two yarns will snap together easily. The result should be a balanced, beautiful yarn.
One of the most enjoyable parts to any spinning technique is experimenting and seeing what works for you. For me, my go-to spinning style is to spin a fat single with a thin single, creating my typical spiral yarns. Something interesting about these spiral yarns is that, in addition to being great by themselves, they also make an amazing palette for cable spinning. The cable adds more than an interesting pattern to yarn -- it also makes for stronger, more durable end product. Even soft fibers like merino and alpaca can be used for tough projects (such as socks) in this way since cabling adds so much strength.

Happy Spinning!

Holly 


Spinning Mohair Locks

I am absolutely in love with mohair. There is such an amazing texture to it... it's so much smoother than any other fiber, and it's got an almost slippery feel to it. It also has a natural silky luster that makes it almost glow in the sunlight. I've recently gotten my hands on some raw mohair fleeces from a farmer who raises her own goats and sheep and they come from a very loving environment.

When my adventure started, I was faced with some understandably dirty, sticky locks. Here's the before washing photo of the mohair:
Picture
It took a few washes and rinses, but I was able to get the mohair clean of lanolin and ready to pick through. A little bit of chert (goat dandruff, for lack of better words) is common with mohair, so I had to pick through and remove the stray hay (VM), dirt, and chert so that all I had was beautiful locks. This process takes several hours for every pound of mohair that I process, since it's done all by hand to ensure that the locks stay as intact as possible (doll makers love to use mohair for doll hair since the curls are so lovely, and fellow spinners like myself love the texture of curly locks in our yarn). After picking through the fiber, I was left with this:
Picture
 I love spinning fiber from the locks, and this was certainly a fun spinning session. I decided to take a small video to show how I did it. My goal with this yarn was to keep a little bit of the curly locks, but also have a fun, textured result.

And the final yarn is finished! I offer this yarn for $25/skein or 5 for $100 (a $25 savings!). Each skein of yarn is custom spun for my customers, and no two will be exactly the same.